Meerkat mask
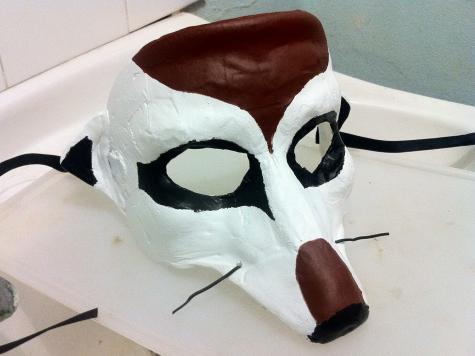
Cy made this superb meerkat mask out of Plastimake. He kindly took the time to share his experiences working with Plastimake to create this mask, Cy writes:
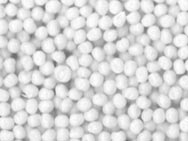
Yesterday we used Plastimake for the first time. The material is incredible to work with, fast, movable and you can just run it under hot or cold water as required to adjust, weld on other sections etc.
It was also easy to cut with stanley knives and other cutters, mould and use hot wire etc to insert things into. I even used a few grades of sand paper to soften edges etc. We were also really impressed with how thin it can be and still have reasonable structural integrity, this allowed for it to be light weight and very material efficient.
For a first attempt we have been really excited about the results, because it is so simple to work with and forgiving.
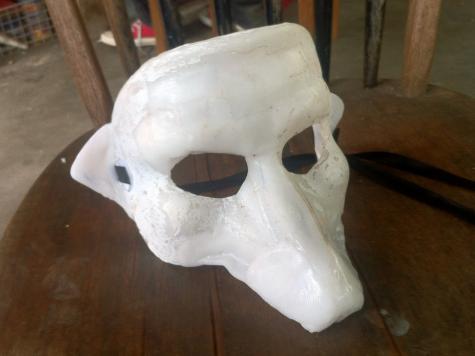
I used an initial mould to shape the Plastimake into the forehead and cheek shape. Removed the result from the mould, then cut and sanded some, attached the nose and ear. Then broadened the nose more. Painted with acrylic paints. Finally used hot wire to melt Plastimake and insert twisty ties for whiskers.
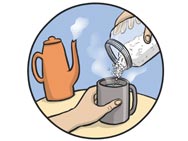
To attach and blend in the snout section I ran the mask under a hot water tap, it was the most direct way to apply heat where I needed.
I also learned that Plastimake is very adept at taking on imprints, much more so than I thought it would. As such the gaffer tape I used to adjust the forehead mould with and the texture of the mould came through. It also stuck a bit to the mould, so I would oil that first in the future.
